
It's Maria here with you today with a very quick tutorial to fake thick letters and alphas, also known as "thickers". In the scrapbooking world, thickers have become almost a "must have", but unfortunately they are not the cheapest and you are also quite limited with the words and phrases that the packs come with.
So I decided to fake my own thickers today, by just adding lots of layers of the same word one on top of the other.

What you will need:
- Silhouette Cameo or Portrait
- Cardstock (I've gone for white, but you can choose any colour you want. You could even make each layer a different colour, that would make it look quite cool!)
- Glossy accents or similar
Instructions
This is a very straight forward tutorial, so hopefully it will be easy to follow along!
I opened my Silhouette Studio and chose the font that I wanted to use. I knew I wanted it to be script, but not too thin as it needed to be easy enough to handle for gluing. My font is called "grassy meadow bold"

Don't forget to weld so all those extra lines go away!

Now I need to enlarge my word. There are several ways to do this, the most common being just dragging from one of the corners of the word. However, I wanted to try a different way today, so I went to the transform section and changing the scale to 150%, which is perfect for what I needed.

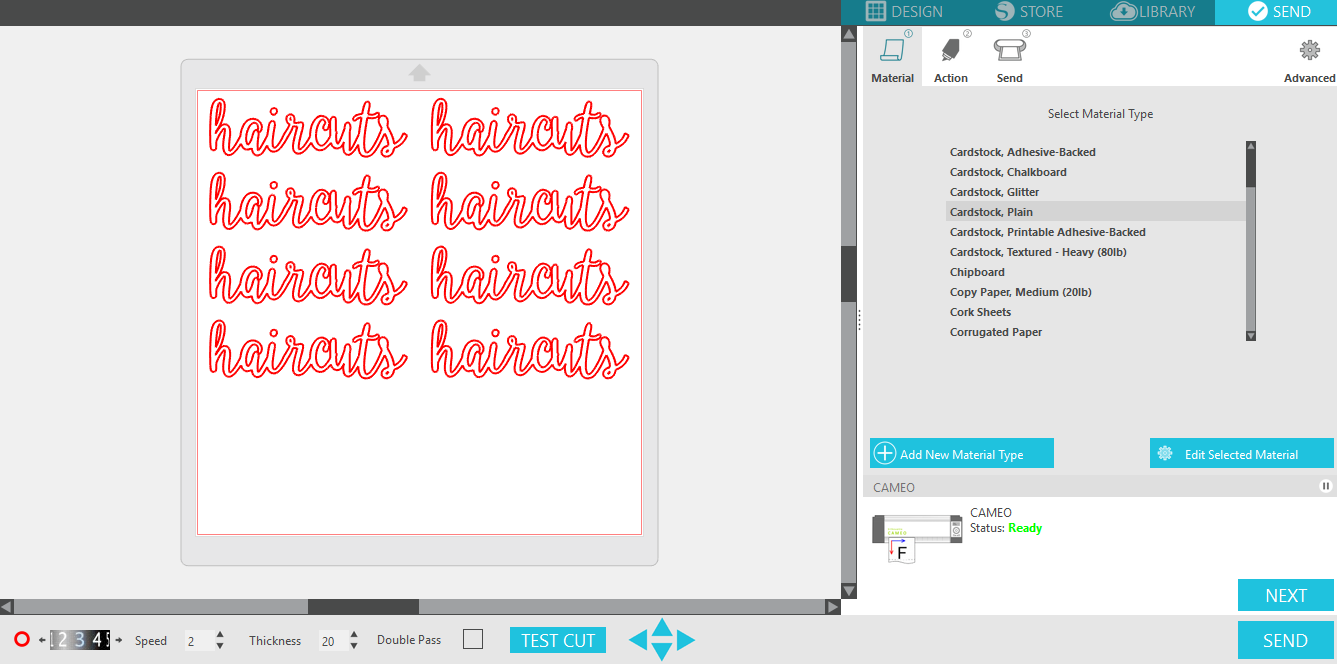
The next step is copying and pasting the word so I can cut it several times. The easiest way to do this is with the Duplicate function, and filling page.

I got twelve repetitions of the word, which were too many, so I went ahead and deleted some of them.

And finally send to cut! I have slowed down the settings because some of the lines are still a bit thin in the words.
And here they are!

I carefully glue all the layers on top of each other (although not carefully enough!)

Once all the layers are glued (I used 6 in the end, as it was thick enough for me), I used glossy accents over the top. The nib of my glossy accents is a bit broken so I was spreading the glossy accents with a needle to make it reach the edges.

And this is the layout I've created with my "fake thicker"!

Thanks for joining me today, and read you very soon!

PRODUCTS USED

No comments:
Post a Comment